
Install Hadoop 3.3.1 on Ubuntu 20 Machine:
Before you start proceeding with the installation, please make sure you have installed VMWare 16, Ubuntu 20, and Java 8. If you haven’t installed it, please go through this blog to install it.
Configure Linux Before Installing Hadoop:
You need to make sure that your Linux machine is configured for Hadoop installation. So, in this blog, we are going to understand how you can configure your Linux. Then we will go through with Hadoop installation. To configure Linux follow the steps:
-
Login as Root
$sudo su
Enter password: provide your password.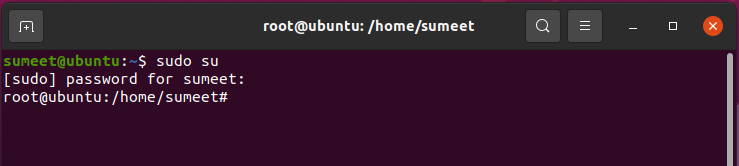
-
Adding A Dedicated User Called “hduser”.
This will create a separate user for running Hadoop. But before we add a dedicated user let’s create a group first.
-
Create a group called “hadoop”.
root@ubuntu:/home/sumeet# sudo addgroup hadoop -
Create a User "hduser".
root@ubuntu:/home/sumeet# sudo adduser hduser
Adding user `hduser' ...
Adding new group `hduser' (1004) ...
Adding new user `hduser' (1002) with group `hduser' ...
Creating home directory `/home/hduser' ...
Copying files from `/etc/skel' ...
New password:  (suggest to use hadoop so that you can remember it easily)
Retype new password:
password: password updated successfully
Changing the user information for hduser
Enter the new value, or press ENTER for the default
	Full Name []:
	Room Number []:
	Work Phone []:
	Home Phone []:
	Other []:
Is the information correct? [Y/n] y
Note: It is optional to provide the above details. Just hit enter and press 'Y' and you are done
-
Add “hduser” to “hadoop” group:
root@ubuntu:/home/sumeet# sudo adduser hduser hadoop -
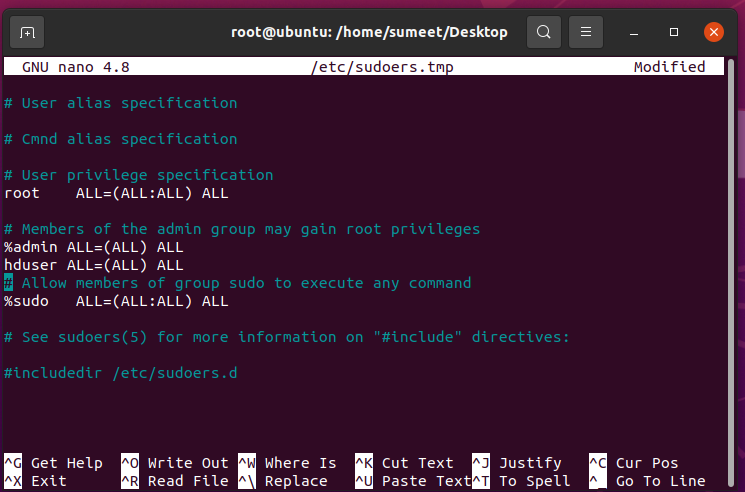
Add “hduser” to the sudoers list so that our “hduser” can get permission to do some activities.
sudo visudoGo down and paste the below command:
hduser ALL=(ALL) ALLThen Press Ctrl+X, Y to save it.
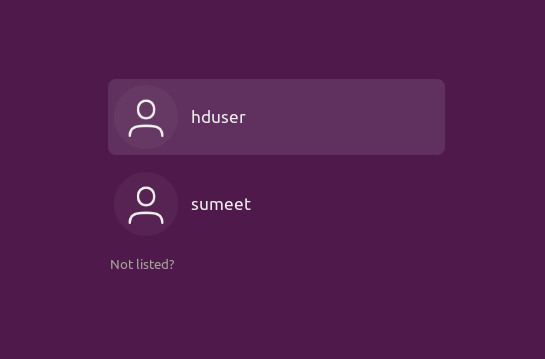
This will add our hduser and hadoop to the local machine.
-
Logout of your system and now, Login as “hduser”.
-
Now try copy-pasting any file to check if it is working or not.
-
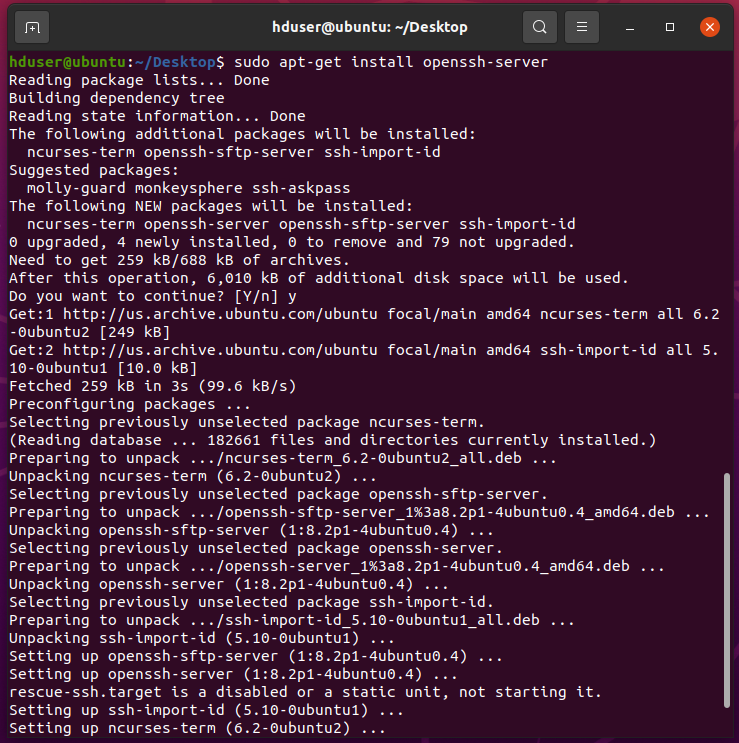
Install OpenSSH on your system.
sudo apt-get install openssh-server
Enter Password:
When prompt yes/no press Y, wait till it is finished and you are done.
-
Generate SSH.
hduser@ubuntu:~$ ssh-keygen
Generating public/private rsa key pair.
Enter file in which to save the key (/home/hduser/.ssh/id_rsa): y
Press Enter when asked anything to continue.
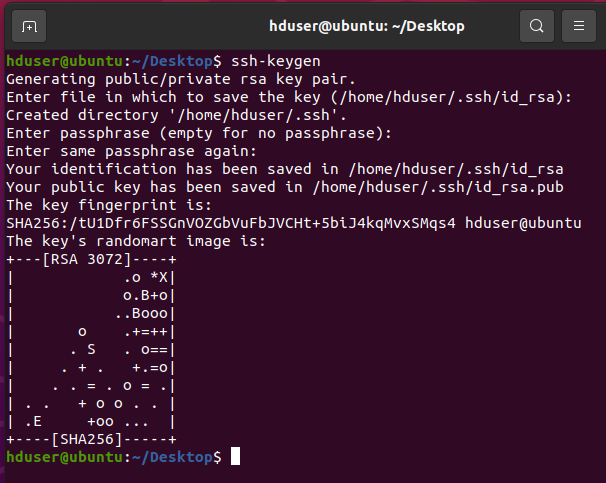
Now, it’s time to test the SSH setup by connecting the local machine with our “hduser” user.
-
Copy the public key to the authorized_keys file and set the permission so that ssh becomes passwordless.
hduser@ubuntu:~$ cat ~/.ssh/id_rsa.pub >> ~/.ssh/authorized_keys hduser@ubuntu:~$ chmod 700 ~/.ssh/authorized_keys -
Now, let’s start ssh:
hduser@ubuntu:~$ sudo /etc/init.d/ssh startEnter Password when asked. Use the below command if ssh is not running.
hduser@ubuntu:~$ sudo /etc/init.d/ssh restart -
Test your ssh connectivity. When asked type "yes".
hduser@ubuntu:~$ ssh  localhost
The authenticity of host 'localhost (127.0.0.1)' can't be established.
ECDSA key fingerprint is SHA256:EvPe69qMTCmunO9dUznIkEO8QKGpACO+vWiKz19+oAk.
Are you sure you want to continue connecting (yes/no/[fingerprint])? Yes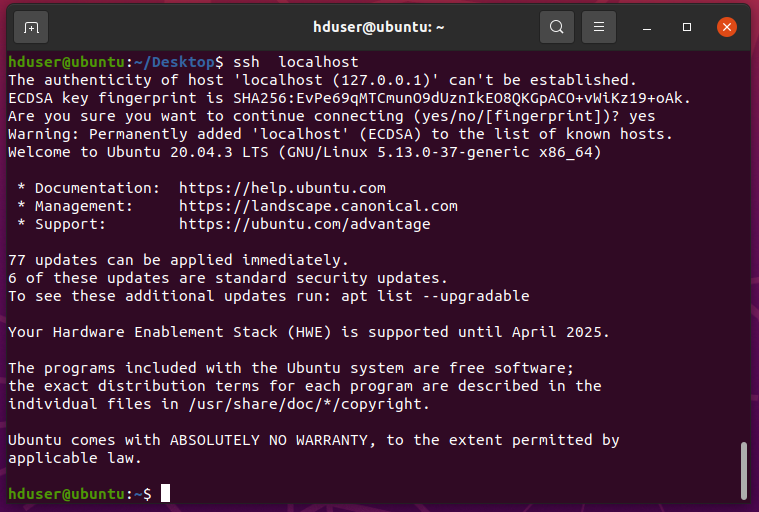
-
Disable IPv6.
It is advisable to disable IPv6 by editing sysctl.conf file.
hduser@ubuntu:~$ sudo vim /etc/sysctl.conf
[sudo] password for hduser:
Now, press 'i' to go into insert mode and paste the below lines of code:
net.ipv6.conf.all.disable_ipv6 = 1
net.ipv6.conf.default.disable_ipv6 = 1
net.ipv6.conf.lo.disable_ipv6 = 1
Type esc:wq to save and exit.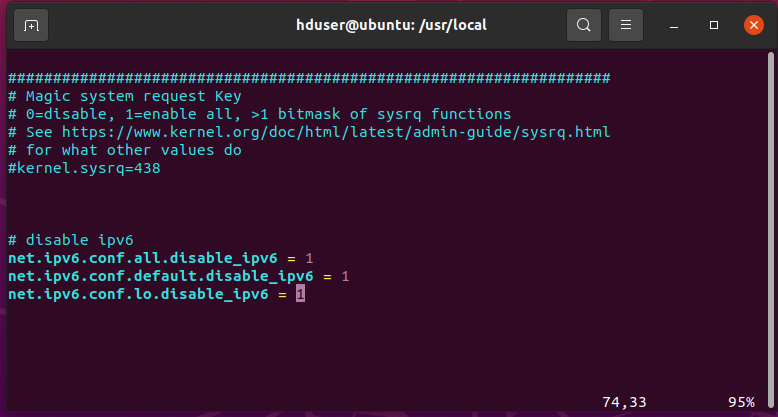
-
Check if IPv6 is disabled.
The output should show you 1. If not, then reboot your Ubuntu.
hduser@ubuntu:~$ cat /proc/sys/net/ipv6/conf/all/disable_ipv6
1
So, we have successfully configured our Linux for Hadoop. We are good to go with the installation of Hadoop.
Download and Install Hadoop on Ubuntu:
We are going to use Hadoop 3.3.1.tar.gz version in this tutorial. You can also work with other versions. So, follow the steps:
-
Download the file from here.
-
Move the file to /usr/local/ and do the below operations:
hduser@ubuntu:~$ sudo mv ~/Desktop/hadoop-3.3.1.tar.gz /usr/local/ Enter password: Enter your password hduser@ubuntu:~$ cd /usr/local // Extract the tar file. hduser@ubuntu:~$ sudo tar -xvf hadoop-3.3.1.tar.gz // Remove the zipped file after extracting it. hduser@ubuntu:/usr/local$ sudo rm hadoop-3.3.1.tar.gz // Create an alias name of the file. hduser@ubuntu:/usr/local$ sudo ln -s hadoop-3.3.1 hadoop // Change the ownership of the file. hduser@ubuntu:/usr/local$ sudo chown -R hduser:hadoop hadoop-3.3.1 // Change the permission of the file. hduser@ubuntu:/usr/local$ sudo chmod 777 hadoop-3.3.1 -
Edit hadoop-env.sh file and also configure Java.
First, open the hadoop-env.sh file with the below command:
hduser@ubuntu:/usr/local$ sudo vim /usr/local/hadoop/etc/hadoop/hadoop-env.shThen, press ‘i’ to go to insert mode and go down and paste the below commands:
// First line is used to disable IPv6 and continue to IPv4.
export HADOOP_OPTS=-Djava.net.preferIPv4Stack=true
export HADOOP_HOME_WARN_SUPPRESS="TRUE"
export JAVA_HOME=/usr/local/java/jdk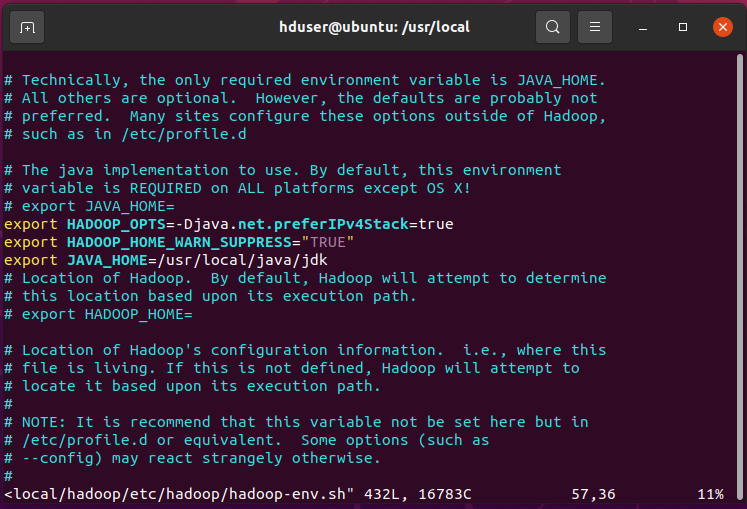
Type esc:wq to save and exit.
-
Update $HOME/.bashrc file
First, open the .bashrc file. Then type :$ to go to the last line of the file and press ‘i’ to switch into “insert mode”.Note: make sure you don’t delete any line.
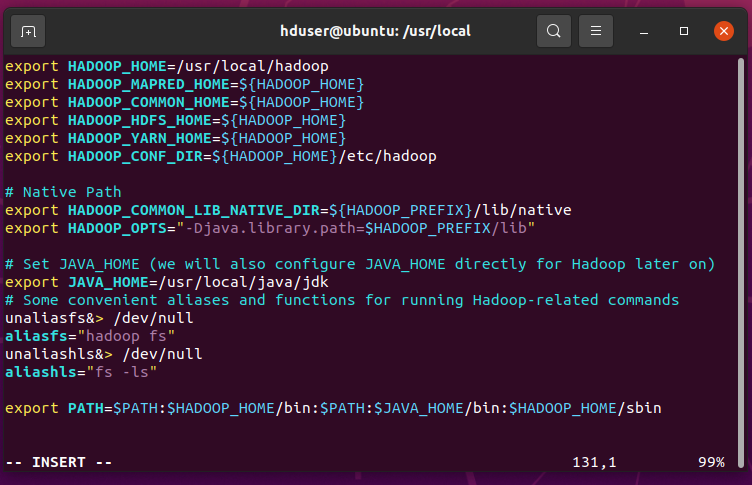
hduser@ubuntu:/usr/local$ vim ~/.bashrc

export HADOOP_HOME=/usr/local/hadoop
export HADOOP_MAPRED_HOME=${HADOOP_HOME}
export HADOOP_COMMON_HOME=${HADOOP_HOME}
export HADOOP_HDFS_HOME=${HADOOP_HOME}
export HADOOP_YARN_HOME=${HADOOP_HOME}
export HADOOP_CONF_DIR=${HADOOP_HOME}/etc/hadoop

# Native Path
export HADOOP_COMMON_LIB_NATIVE_DIR=${HADOOP_PREFIX}/lib/native
export HADOOP_OPTS="-Djava.library.path=$HADOOP_PREFIX/lib"

# Set JAVA_HOME (we will also configure JAVA_HOME directly for Hadoop later on)
export JAVA_HOME=/usr/local/java/jdk
# Some convenient aliases and functions for running Hadoop-related commands
unaliasfs&> /dev/null
aliasfs="hadoop fs"
unaliashls&> /dev/null
aliashls="fs -ls"

export PATH=$PATH:$HADOOP_HOME/bin:$PATH:$JAVA_HOME/bin:$HADOOP_HOME/sbin
Press esc :wq to save and exit.
Note: close the terminal and open a new terminal to make changes effective.
-
Update yarn-site.xml file.
// Open yarn-site.xml file.
hduser@ubuntu:/usr/local$ sudo  vim /usr/local/hadoop/etc/hadoop/yarn-site.xml
Add the below lines between … tag.
   yarn.nodemanager.aux-services
   mapreduce_shuffle


   yarn.nodemanager.aux-services.mapreduce.shuffle.class
   org.apache.hadoop.mapred.ShuffleHandler


   yarn.nodemanager.vmem-check-enabled
   false
   Whether virtual memory limits will be enforced for containers


   yarn.nodemanager.vmem-pmem-ratio
   4
   Ratio between virtual memory to physical memory when setting memory limits for containers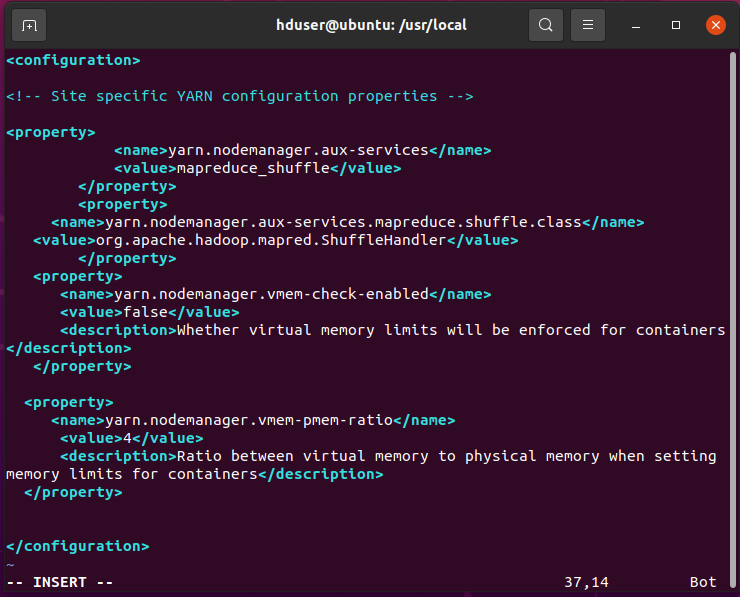
-
Update core-site.xml file.
// Open the core-site.xml file.
hduser@ubuntu:/usr/local$ sudo vim /usr/local/hadoop/etc/hadoop/core-site.xml
Add the below lines between … tag.
      hadoop.tmp.dir
      /app/hadoop/tmp  // it could be anything.
      A base for other temporary directories.


       fs.default.name
       hdfs://localhost:9000
       default host and port


    hadoop.proxyuser.hduser.hosts
    *


    hadoop.proxyuser. hduser.groups
    *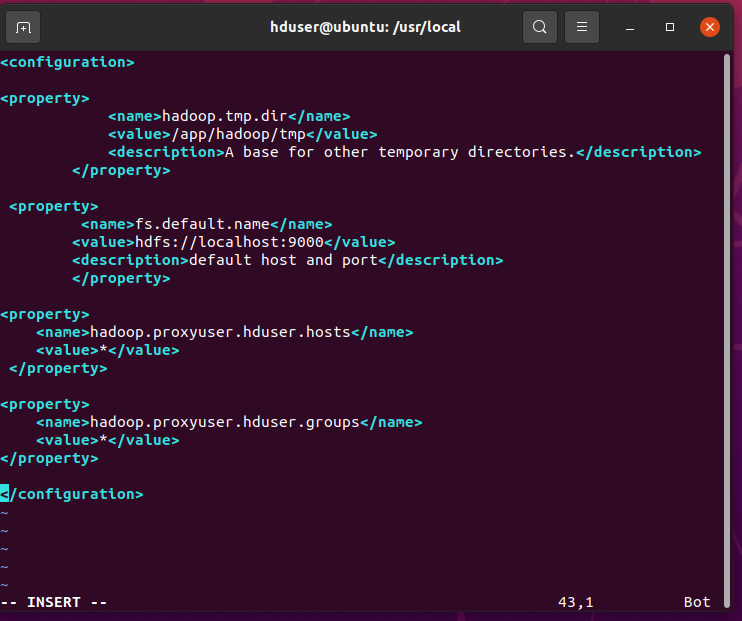
-
Create the above “/app/hadoop/tmp” folder and give appropriate permissions.
sudo mkdir -p /app/hadoop/tmp sudo chown hduser:hadoop -R /app/hadoop/tmp sudo chmod 750 /app/hadoop/tmp -
Edit mapred-site.xml.
// Open mapred-site.file.
$ sudo vim  /usr/local/hadoop/etc/hadoop/mapred-site.xml
Add the below lines between … tag.
    mapreduce.framework.name
    yarn


       mapreduce.jobhistory.address
       localhost:10020
       Host and port for Job History Server (default 0.0.0.0:10020)


      yarn.app.mapreduce.am.env
      HADOOP_MAPRED_HOME=${HADOOP_HOME}


        mapreduce.map.env
        HADOOP_MAPRED_HOME=${HADOOP_HOME}


        mapreduce.reduce.env
        HADOOP_MAPRED_HOME=${HADOOP_HOME}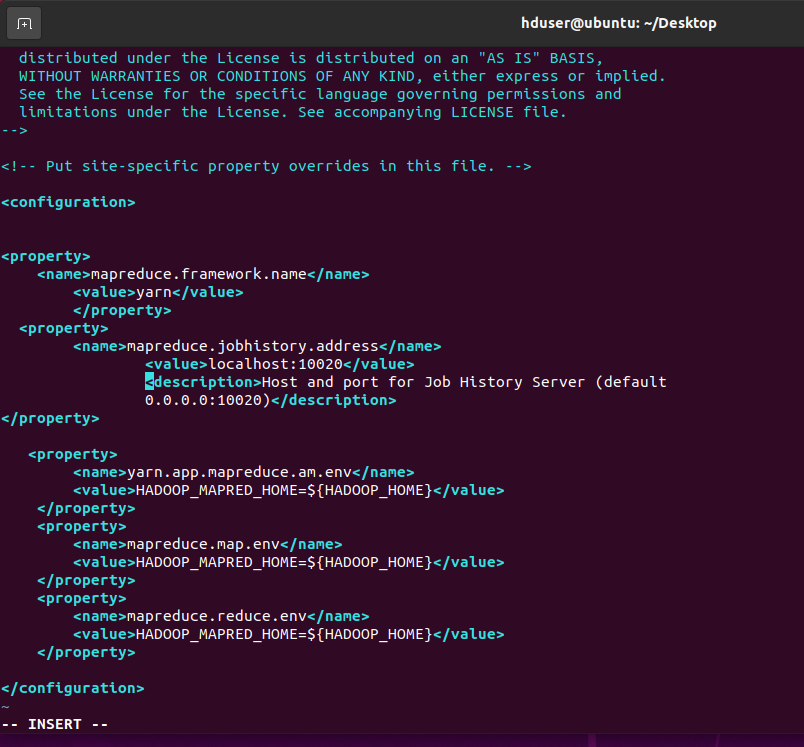
-
Create a temporary directory that will be used as a base location for DFS. Also, set the ownerships.
sudo mkdir -p /usr/local/hadoop_tmp/hdfs/namenode
sudo mkdir -p /usr/local/hadoop_tmp/hdfs/datanode
sudo chown hduser:hadoop -R /usr/local/hadoop_tmp/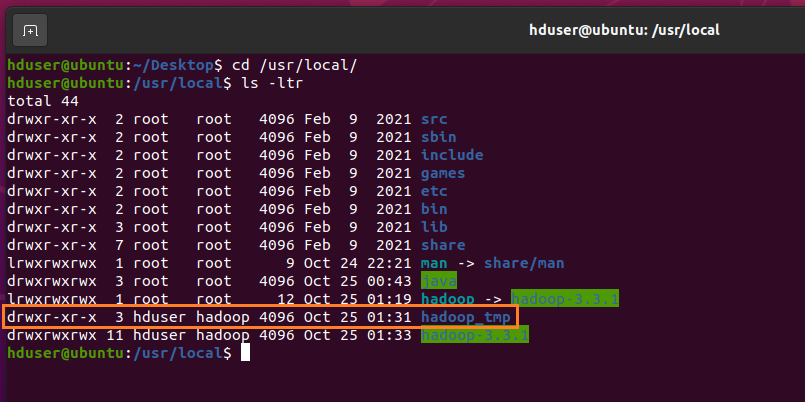
Note: If you forget to set the ownership, you will see a java.io.IOException the time when you try to format NameNode in our next step.
-
Update hdfs-site.xml file.
$ sudo vim /usr/local/hadoop/etc/hadoop/hdfs-site.xmlAdd the below lines between … tag.
    dfs.replication
    1


    dfs.namenode.name.dir
    file:/usr/local/hadoop_tmp/hdfs/namenode


    dfs.datanode.data.dir
    file:/usr/local/hadoop_tmp/hdfs/datanode
-
Format NameNode.
Open a New Terminal and format the hdfs cluster with the below command:
$ hadoop namenode -formatNote: If the command doesn’t execute try checking the ownership and permission of the directories or check the .bashrc file.
-
Start Your Single Node Cluster.
Hadoop is now ready to use. You can test it with the below commands.
$ start-dfs.sh    -- starts NN,SNN,DN  --Type Yes if anything asked for
$ start-yarn.sh   -- starts NodeManager,ResourceManager

$ start-dfs.sh && start-yarn.sh  -- In a single line
$ start-all.sh
If anything is asked type “yes”, wait for some time and you are done.
-
Component like “pig” depends on history server. To start and stop history server use below commands:
$mr-jobhistory-daemon.sh start historyserver -- starts $mr-jobhistory-daemon.sh stop historyserver -- stops -
Make sure your Hadoop services are up and running. To check use “jps” command as shown below:
hduser@ubuntu:~/Desktop$ jps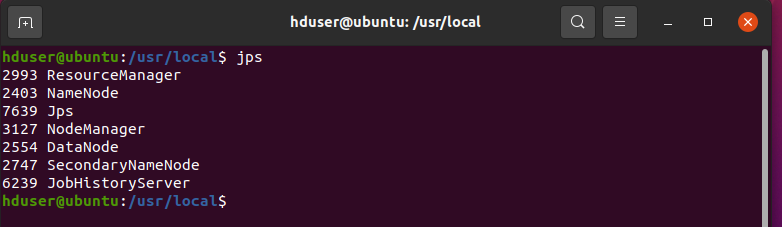
-
Now we have to check if the home folder is created in hdfs or not.
$ hadoop fs -lsNote: If you get an error that says “no such file or directory” then it means the home directory was not created. To create a directory in hdfs use the below command:
$ hadoop fs -mkdir -p /user/hduser --- (Deprecated – but works fine)
$ hdfs dfs -mkdir -p /user/hduser  --- (Use this)
Now, check again and this time you will not get any such error. And as the folder is empty you should not get any output.

-
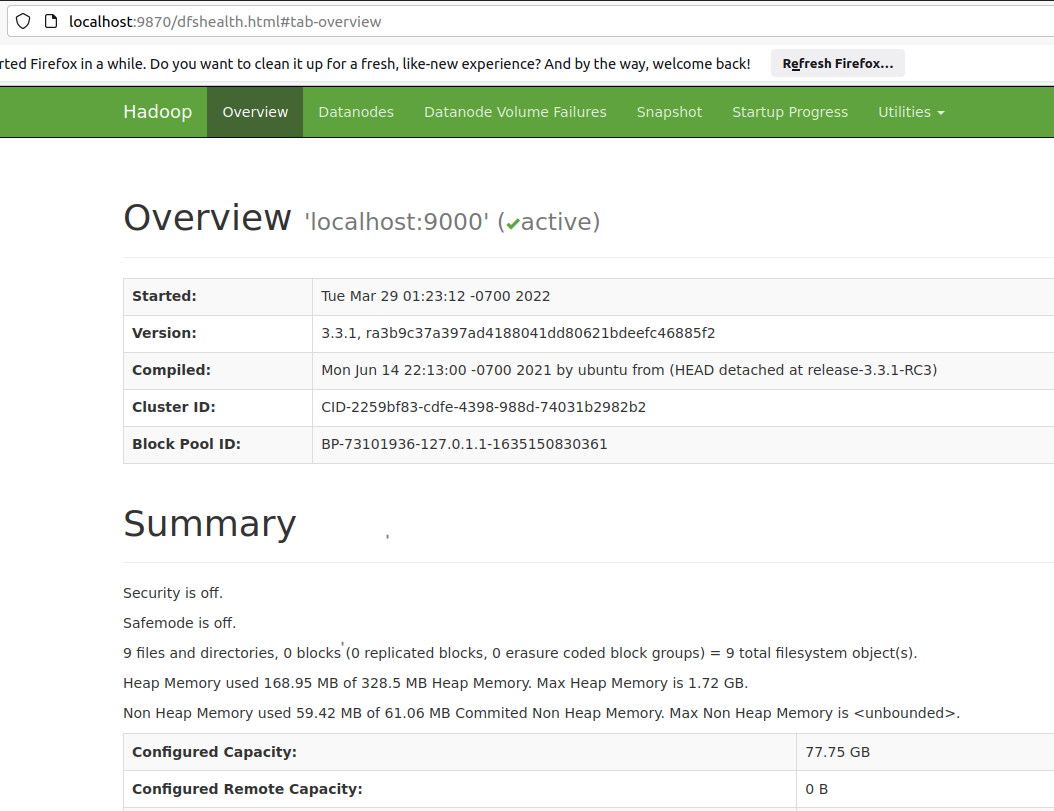
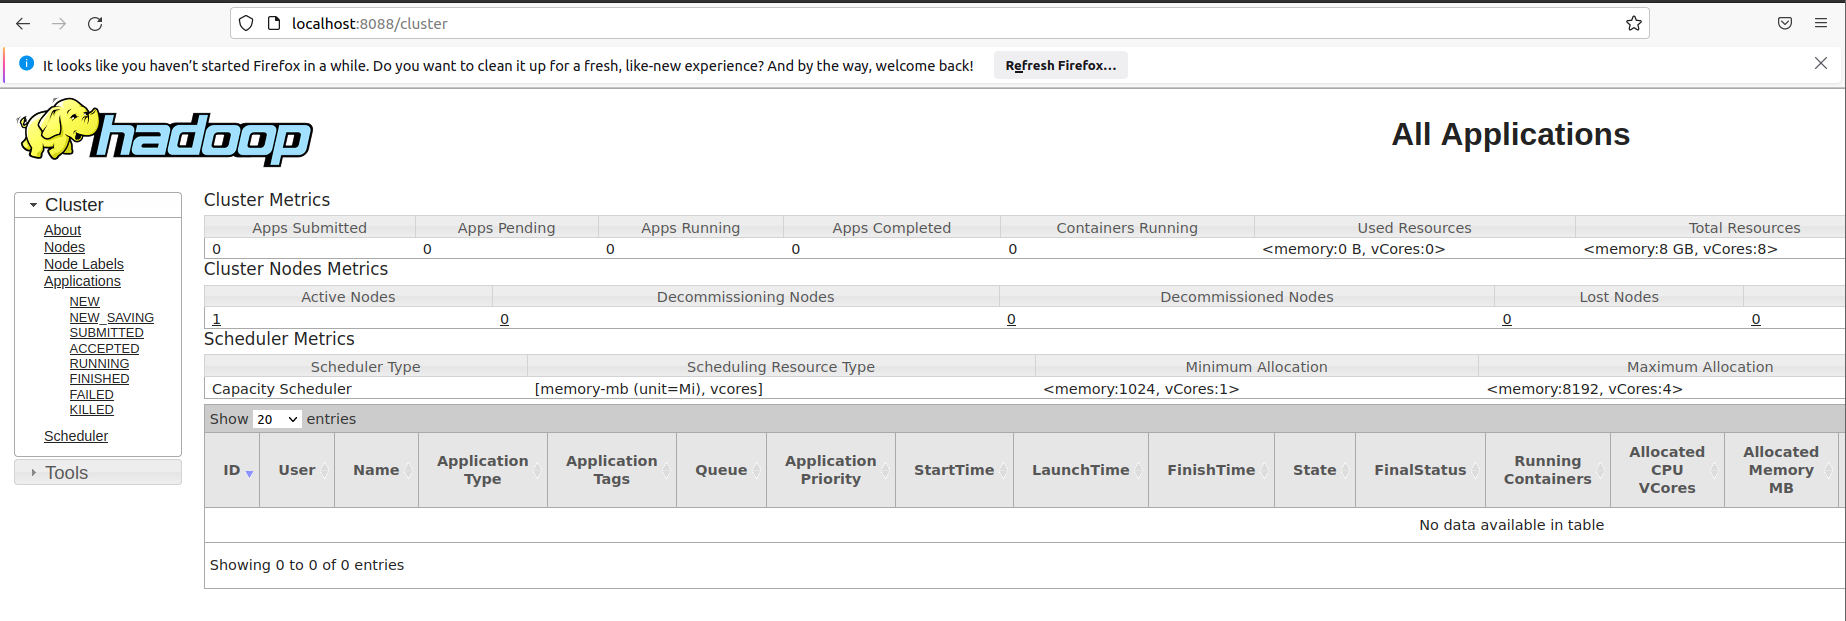
Check Hadoop is accessible through the browser.
Below are the URLs of each Hadoop service:
Note: Make sure your Hadoop services are up and running.
-
NameNode: http://localhost:9870
-
Resource Manager: http://localhost:8088
-
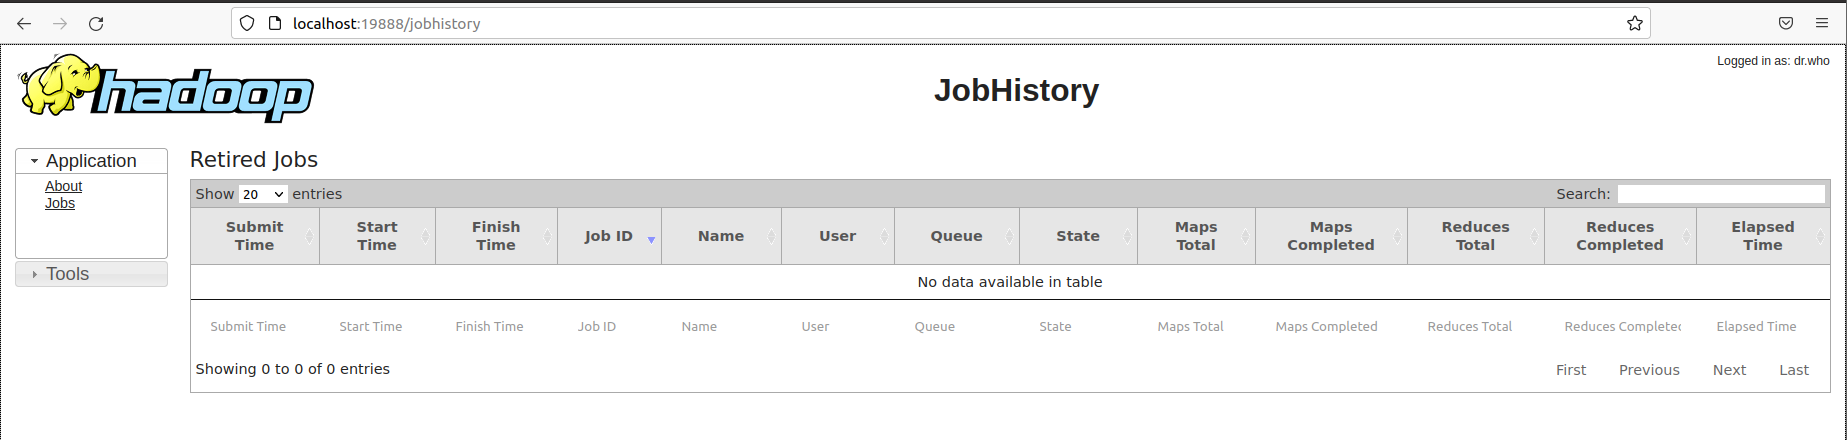
MapReduce JobHistory: http://localhost:19888
This completed our Hadoop Installation and you are all set to use Hadoop now.
We also have a video on YouTube on how to install Hadoop on Ubuntu do go check it out here.
